NSX Home Lab Series – 5. vCenter
Objective:
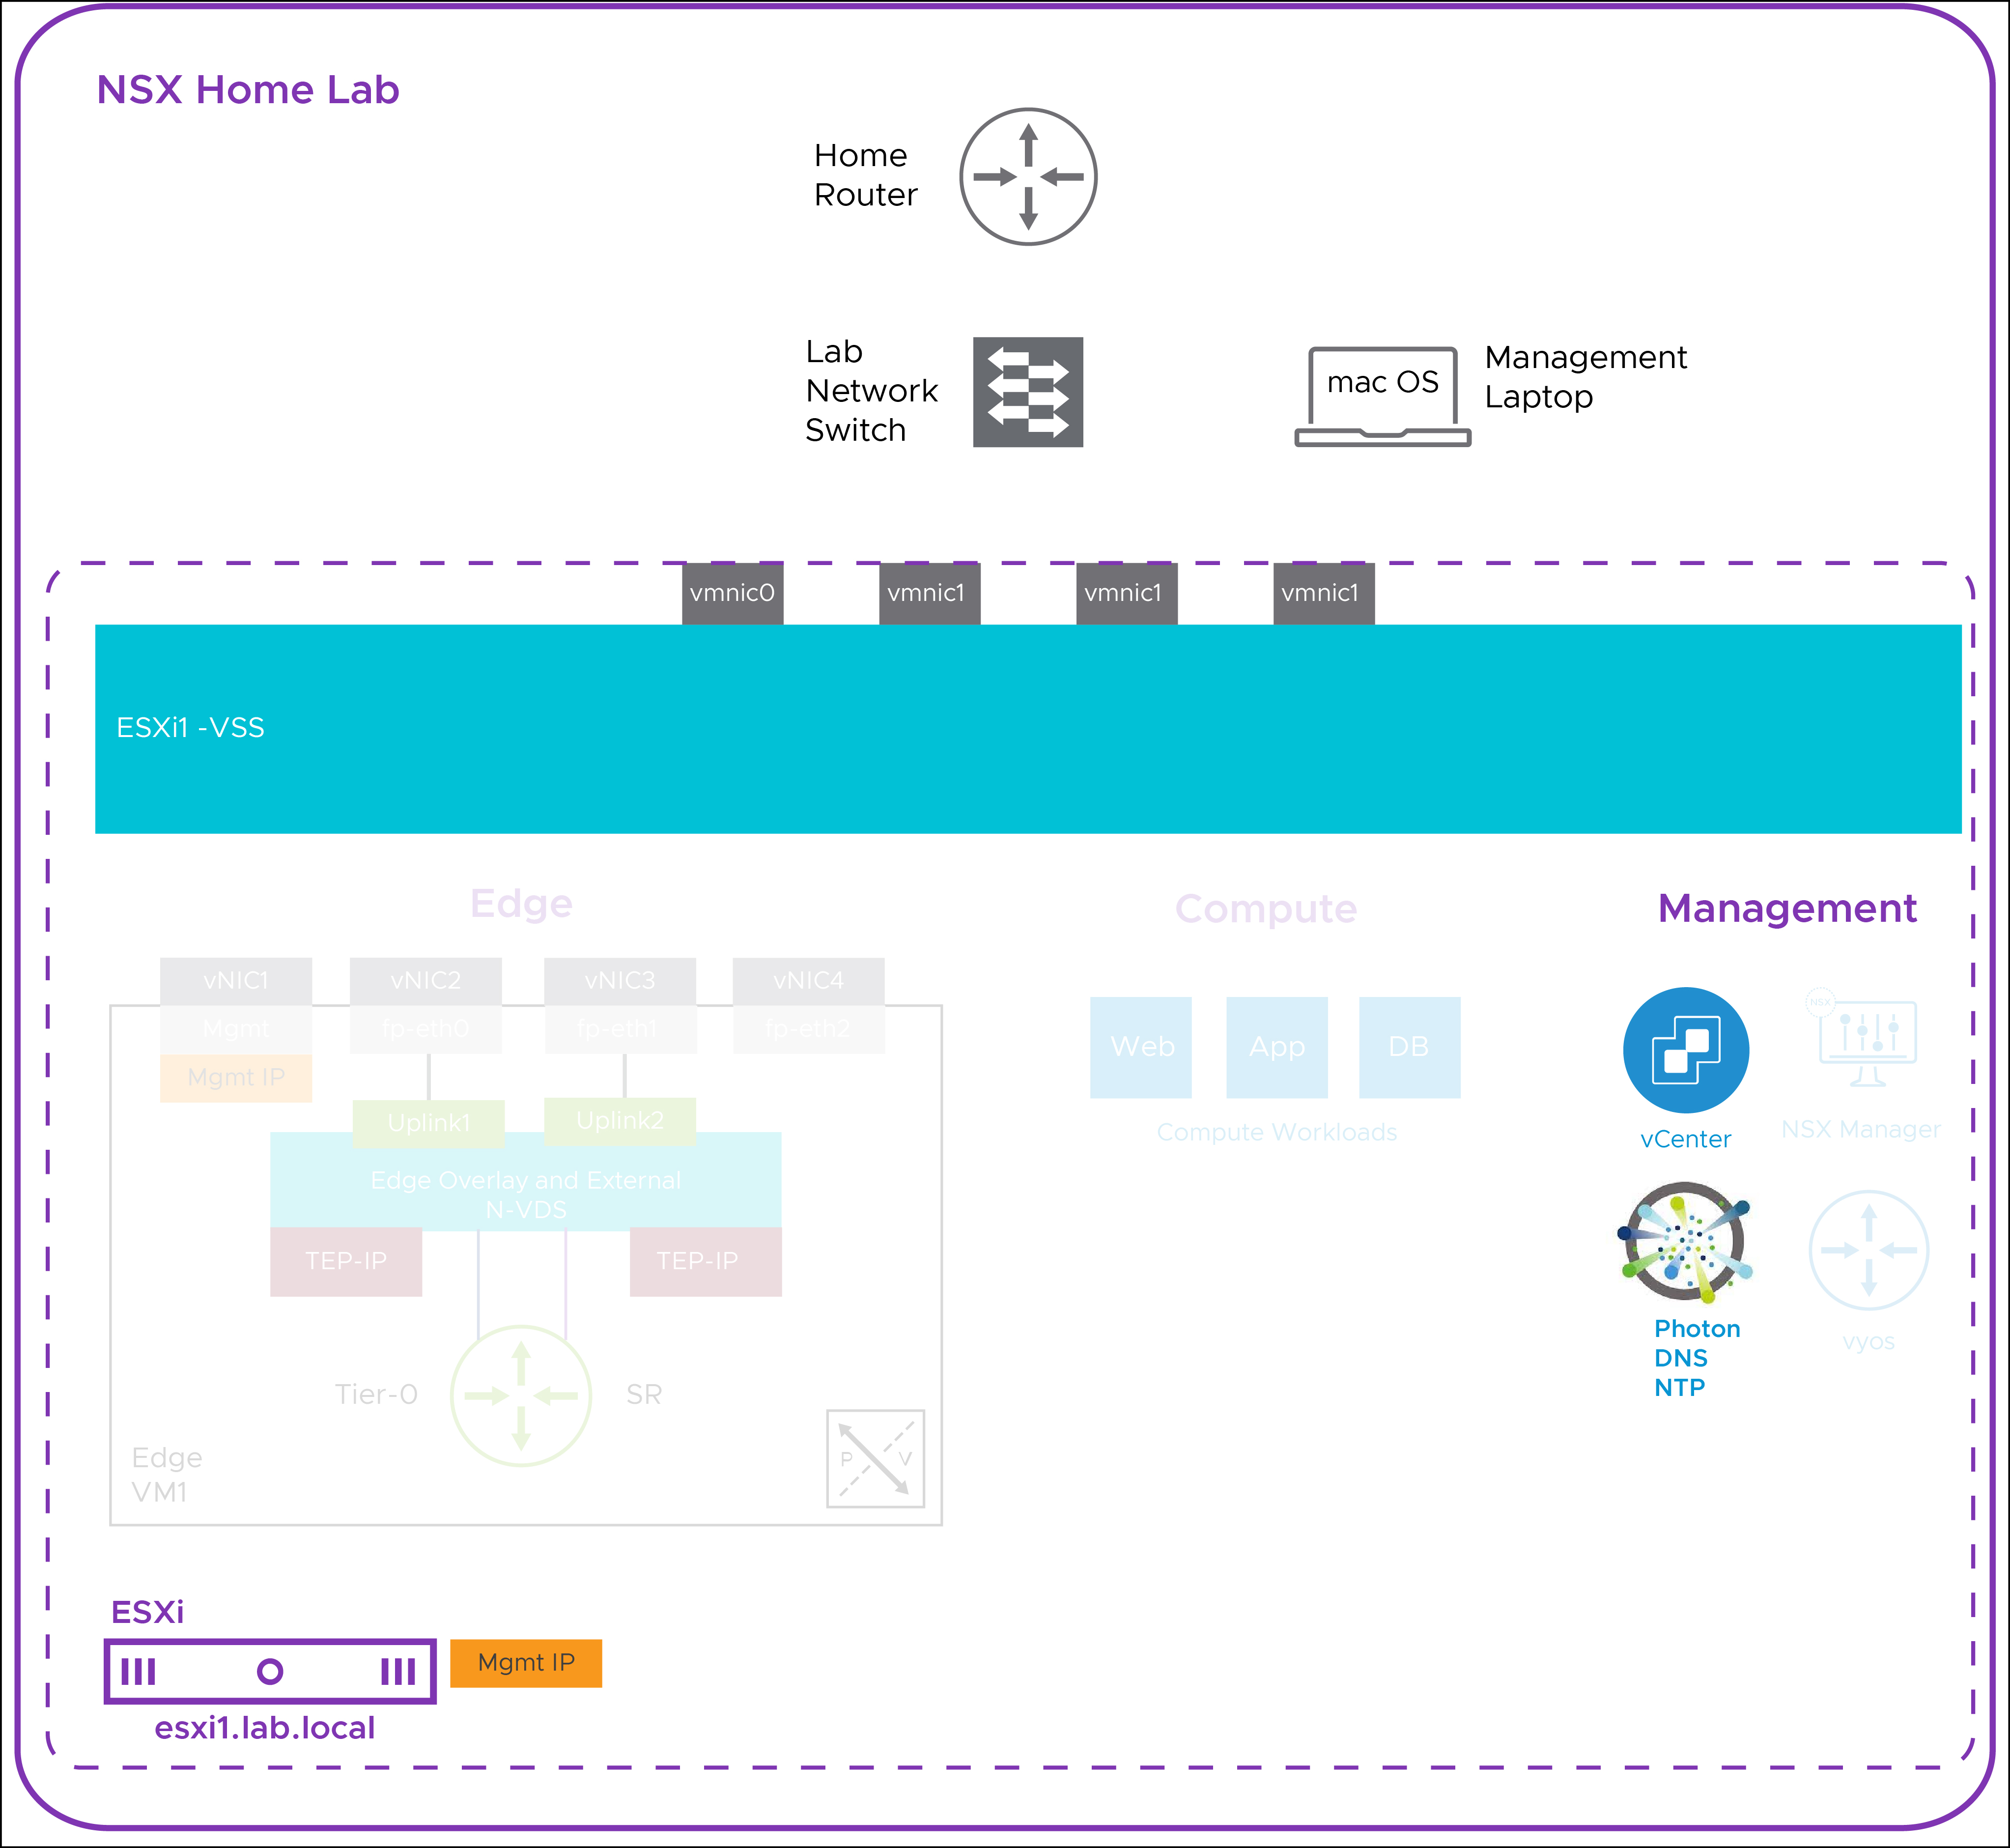
The goal is to deploy a VMware vCenter Server Appliance (VCSA) 8.0 in preparation to provision it as an NSX compute manager to:
- enhance the operational efficiency
- to simplify management
- provide a unified view of the virtual and network home lab infrastructure
- to migrate the existing home lab from a vSphere Standard Switch (VSS) to a vSphere Distributed Switch (VDS)
Plan:
Here is an article I found helpful: in getting me started: Installing VMware vCenter Server Appliance (VCSA) 8.0.
We will use a Mac OS based management laptop, external to ESXi, to mount a downloaded VCSA.IS0 file, and run the installer.
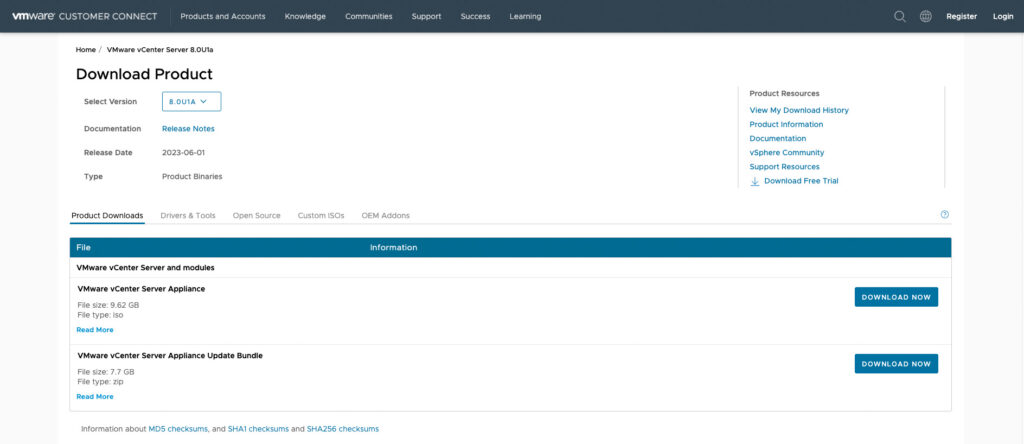
VCSA Download:
I downloaded the latest VCSA ISO that was available at the time of this article, VMware-VCSA-all-8.0.1-21815093.iso
Mount ISO:
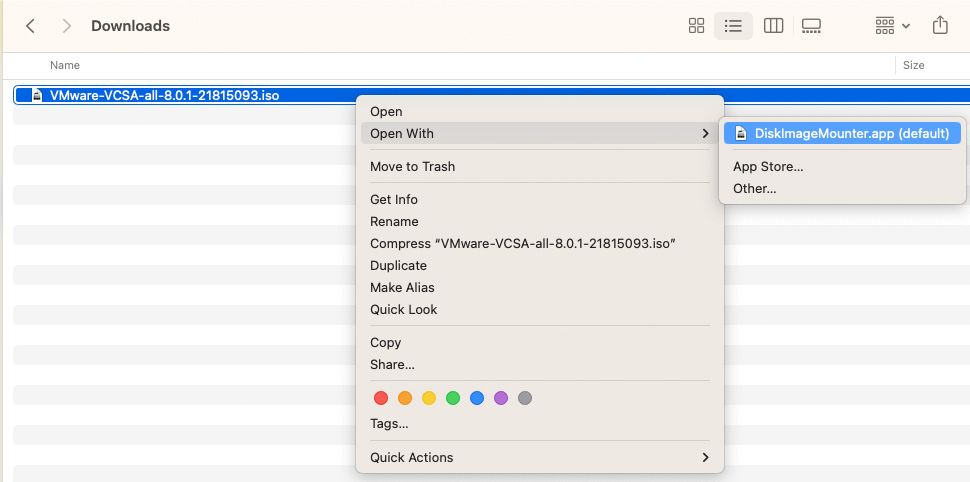
On MAC OS, right-click on the VCSA ISO, to open it with DiskImageMounter, the Disk Utility.
Mounted ISO:
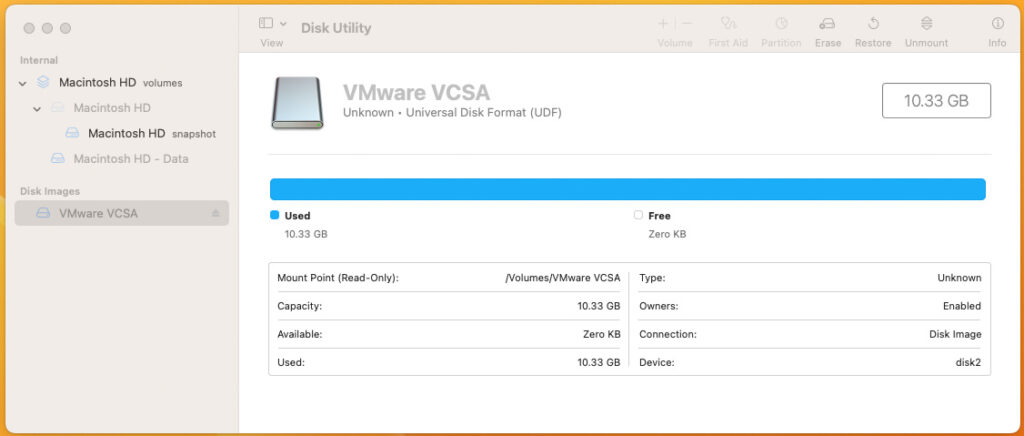
The mounted ISO appears in the Disk Utility.
Browse the ISO:
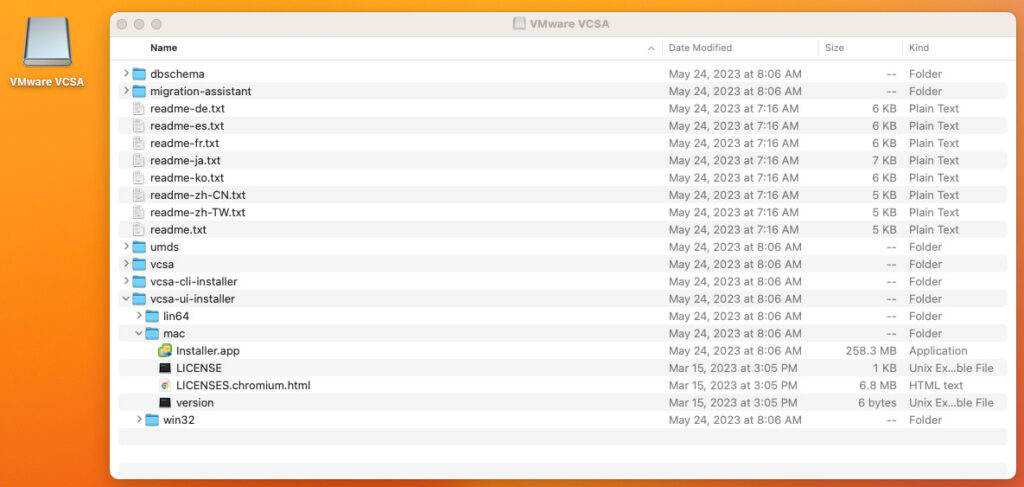
From the vcsa-ui-installer/mac folder, attempt to run installer app:
Mac OS ISO Mount Issue:
When attempting to run the installer, I received the error: “Installer is damaged and can’t be opened. You should eject the disk image.” This is related to MAC OS security, and is covered in this VMware KB article. To resolve, from the MAC OS CLI:
sudo spctl --global-disable
sudo xattr -r -d com.apple.quarantine Downloads/VMware-VCSA-all-8.0.1-21815093.iso
vCenter Server Deployment:
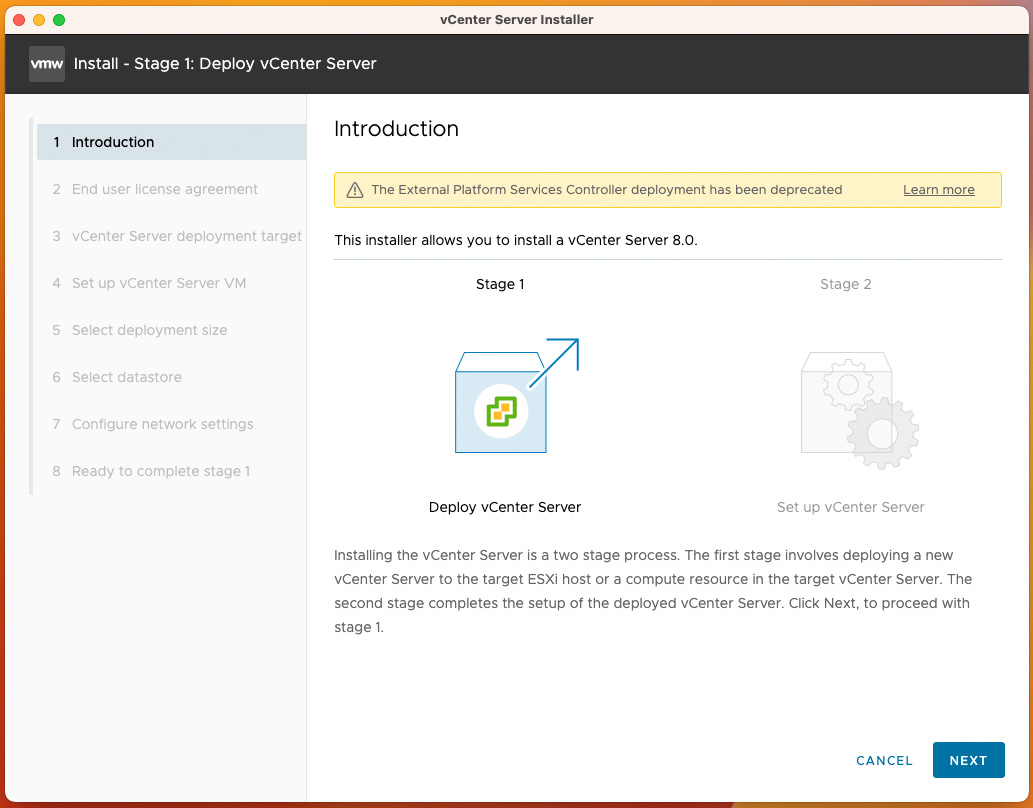
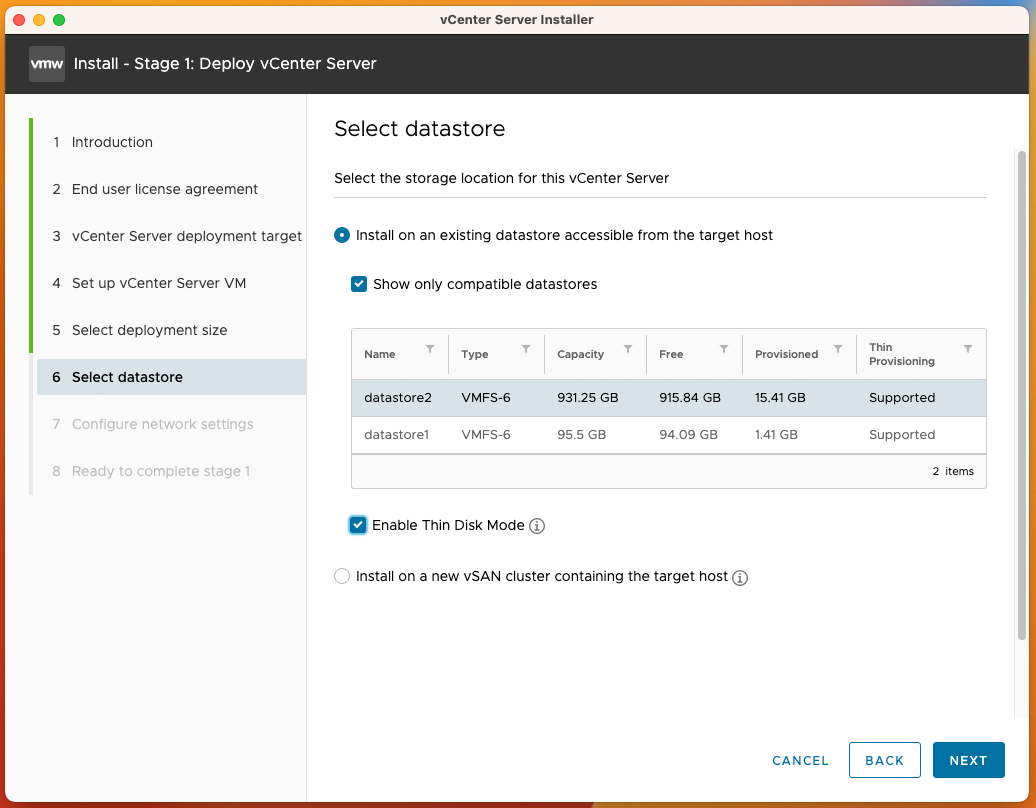
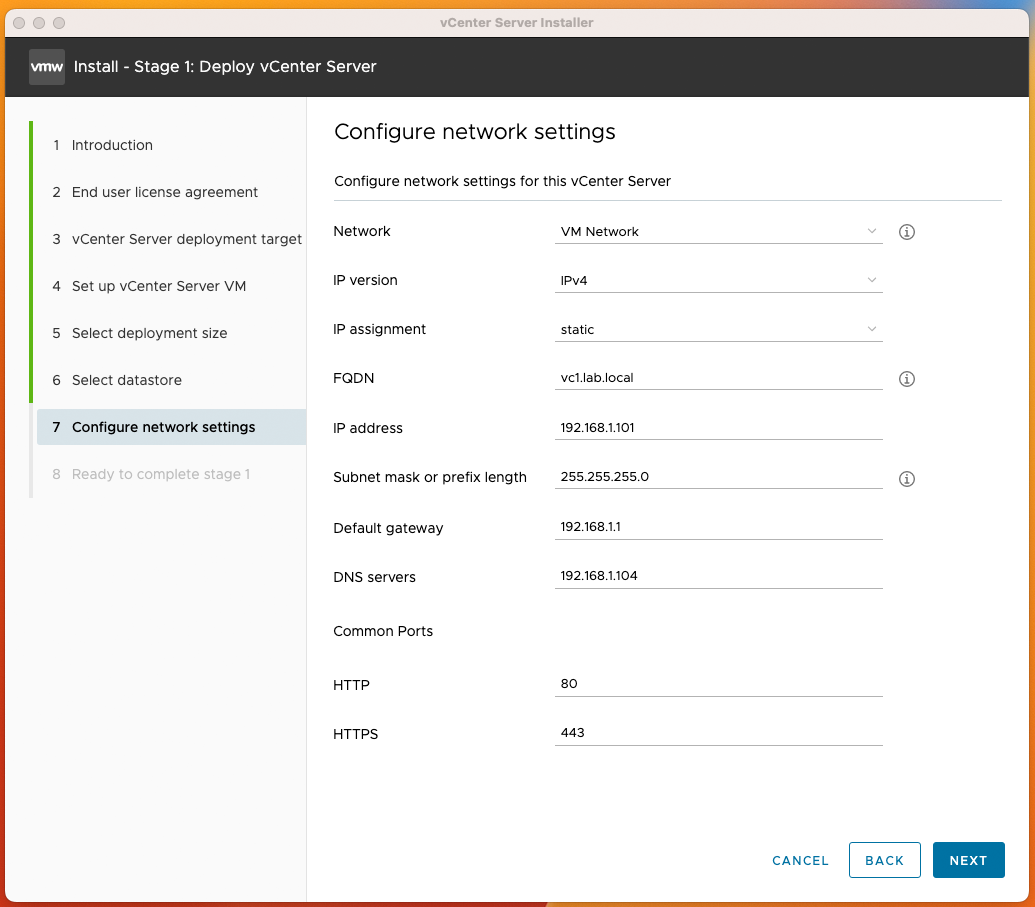
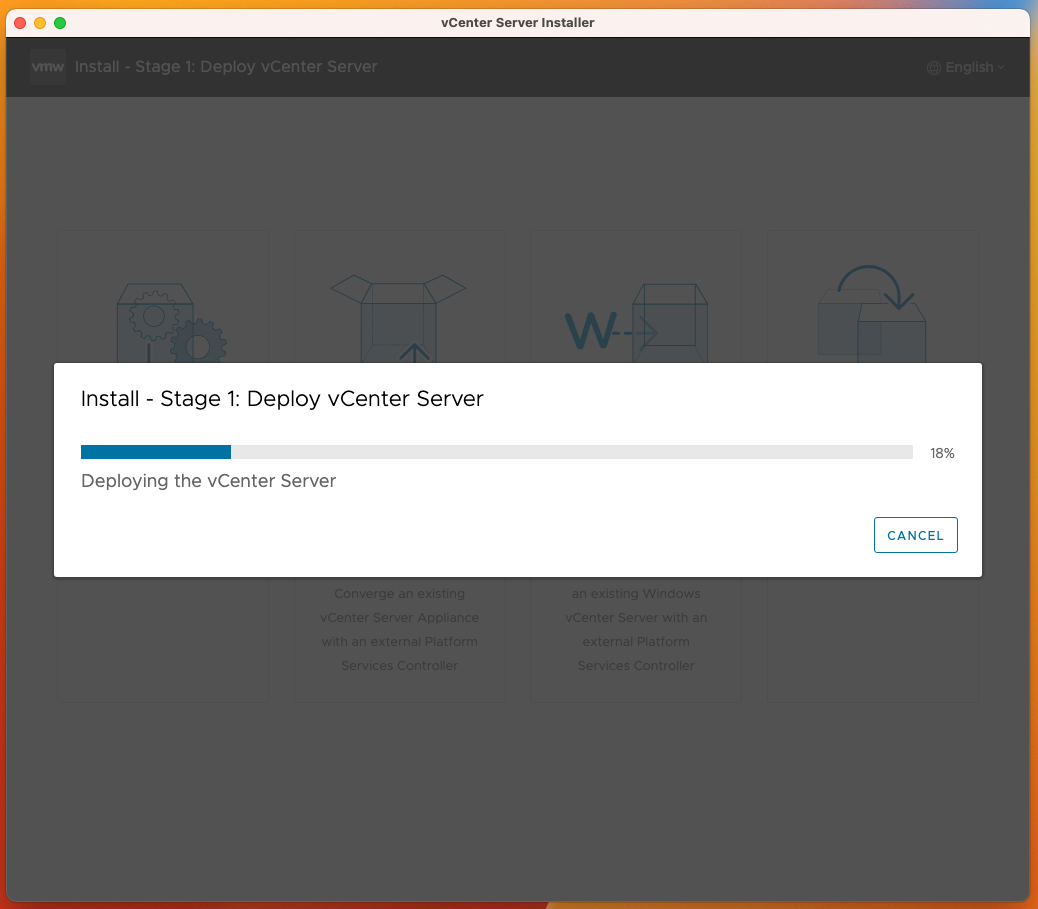
With this issue now resolved, from the vCenter Server Installer, select Install, to install a new vCenter server.
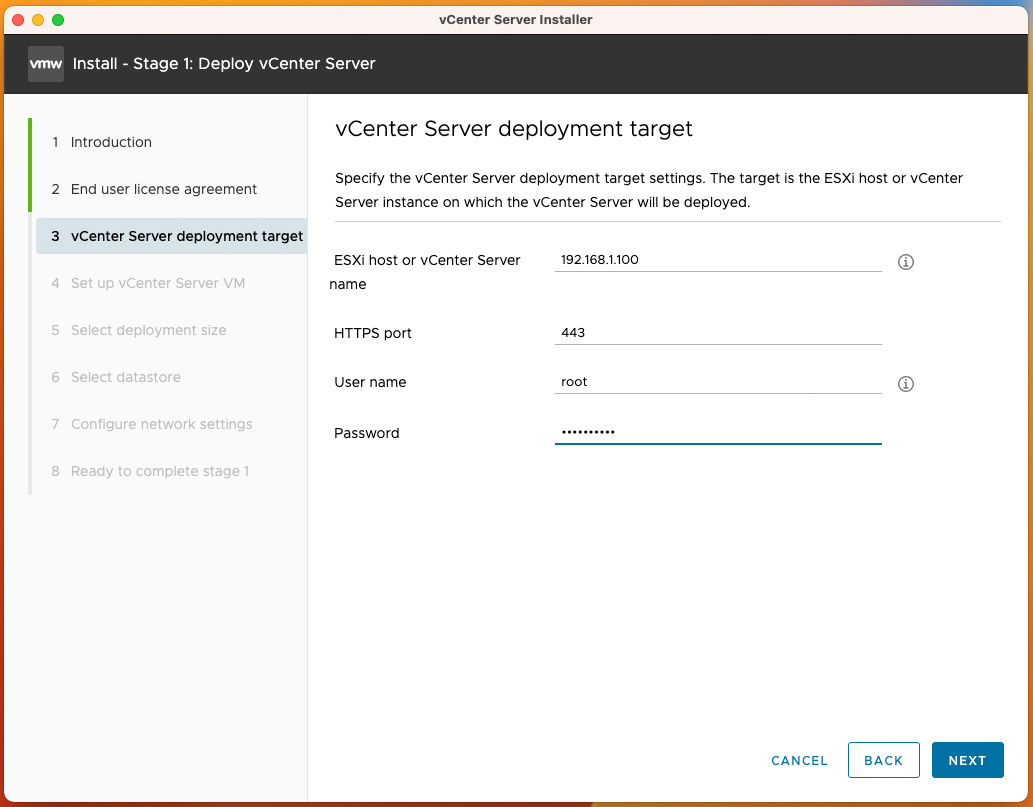
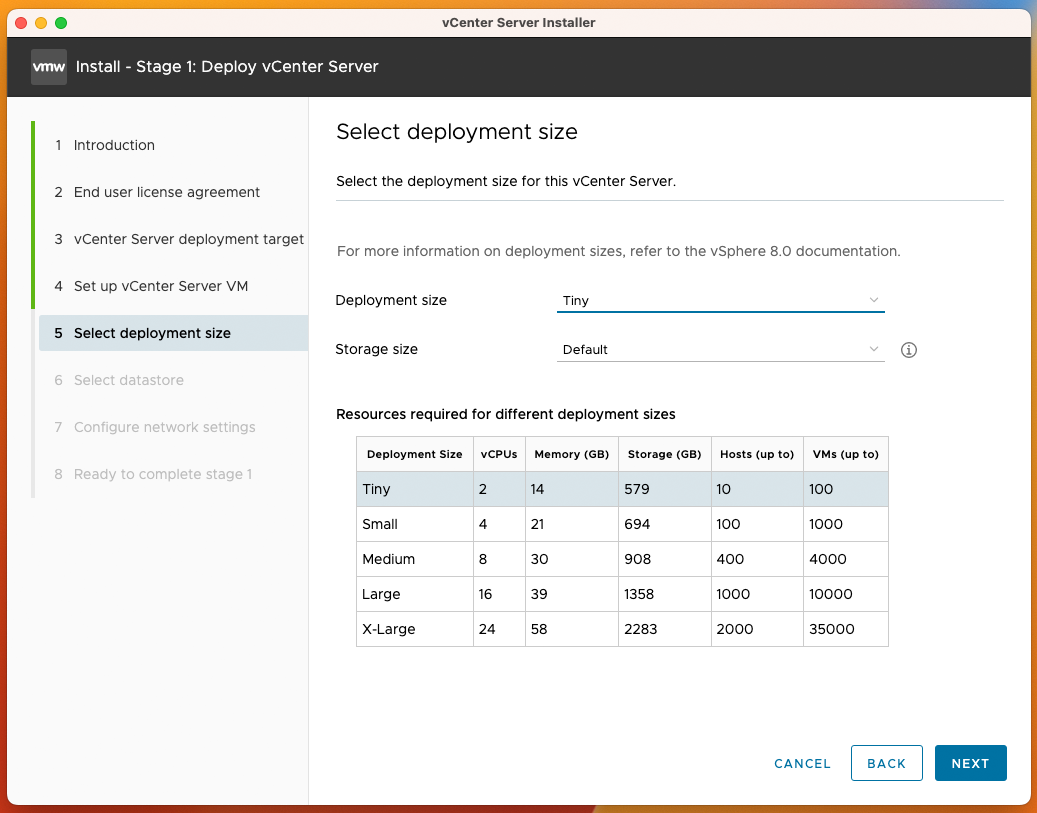
This series of images run through VCSA Stage 1 deployment steps:
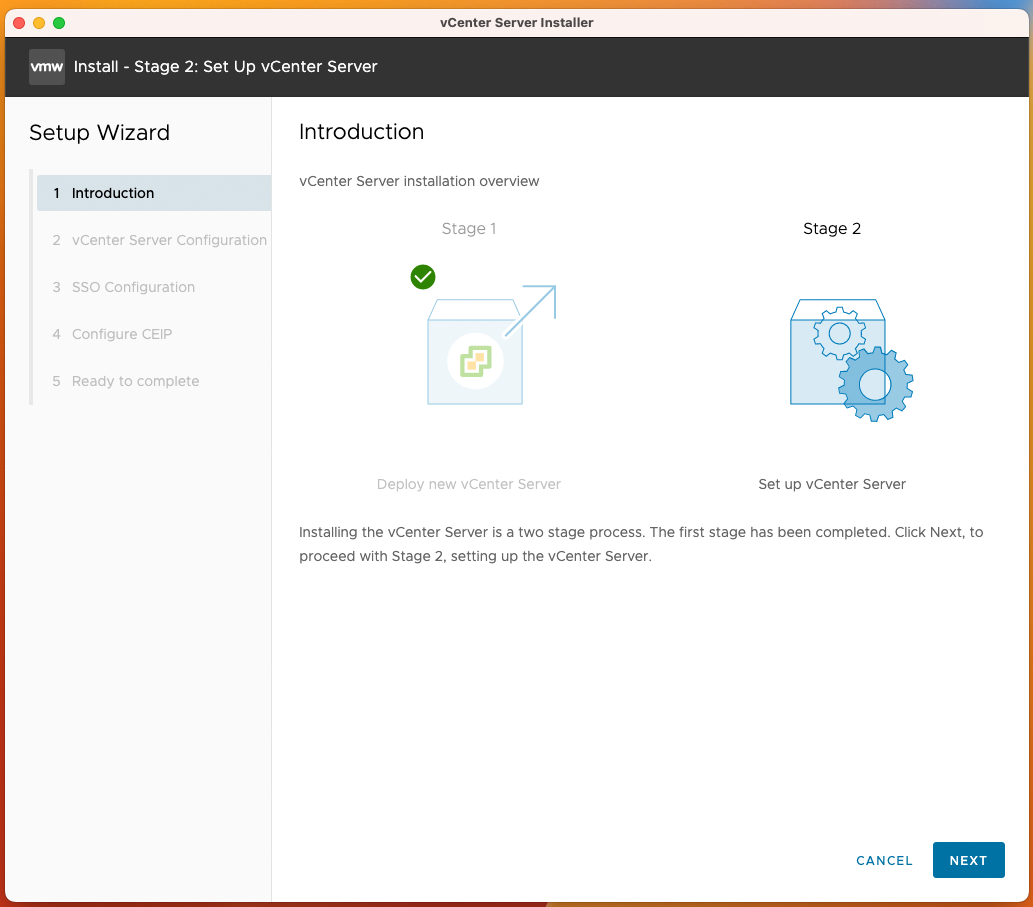
vCenter Server Set Up:
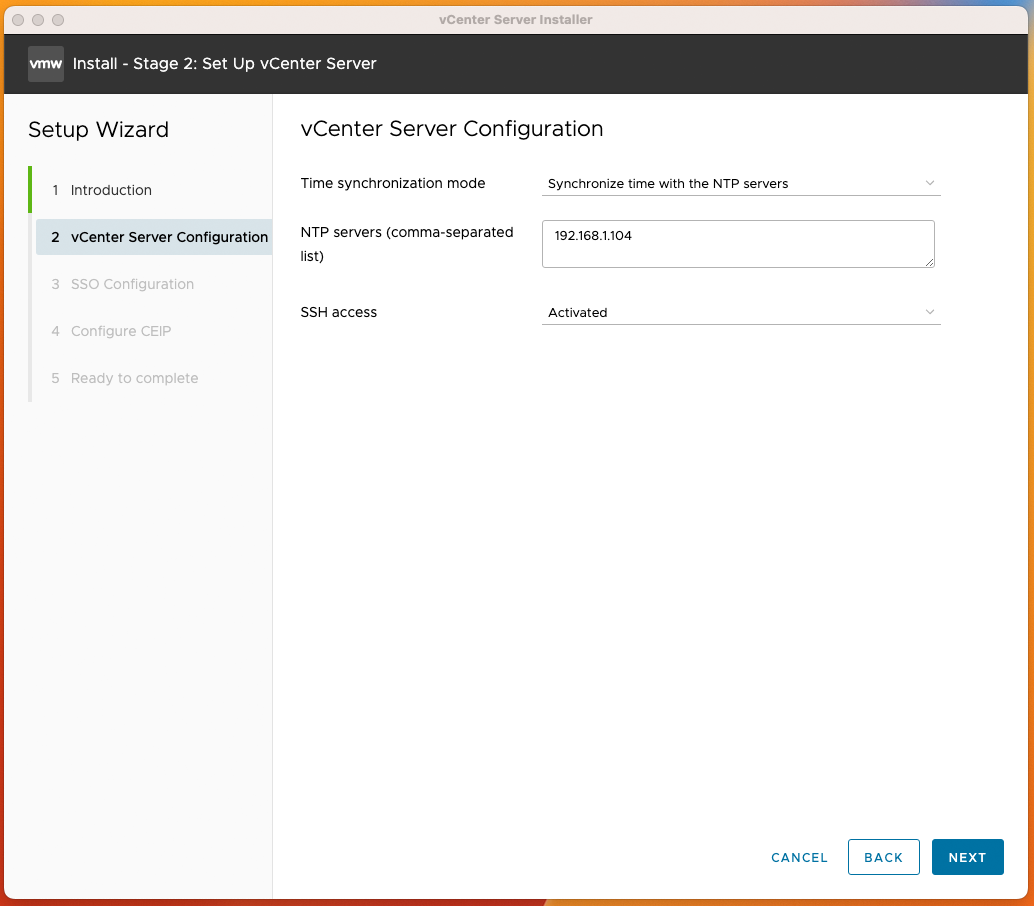
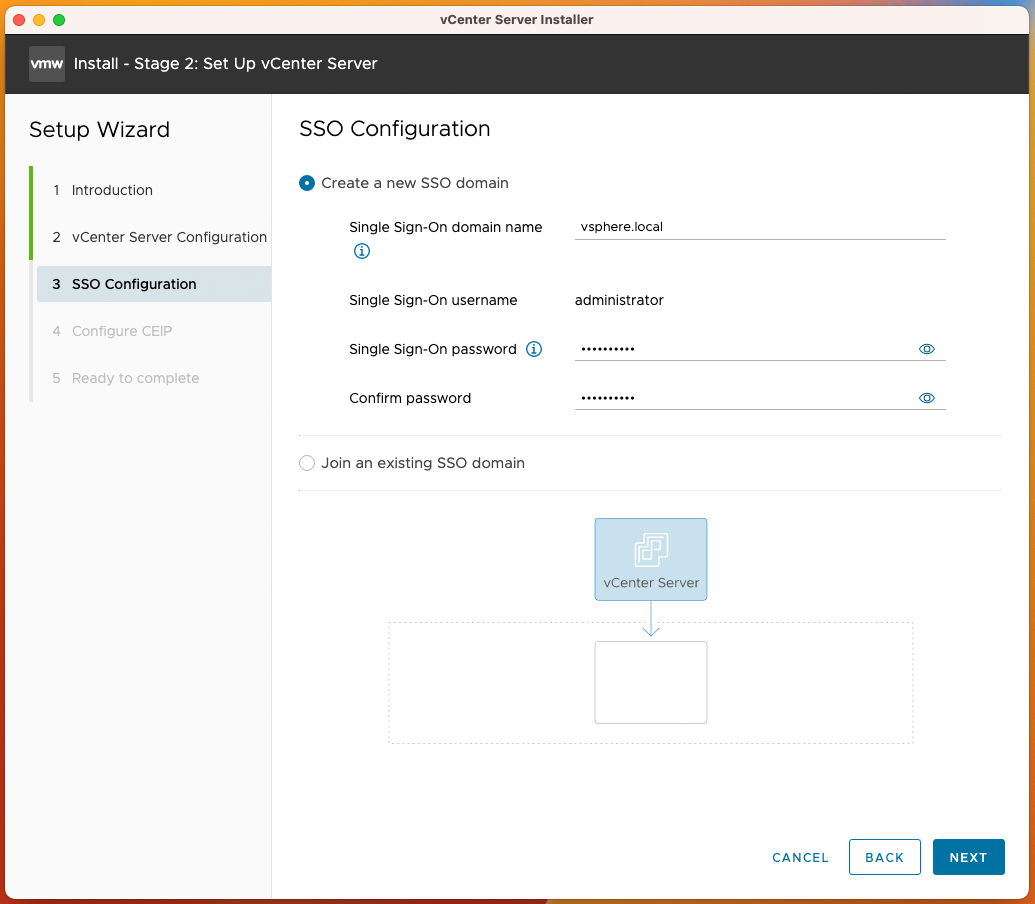
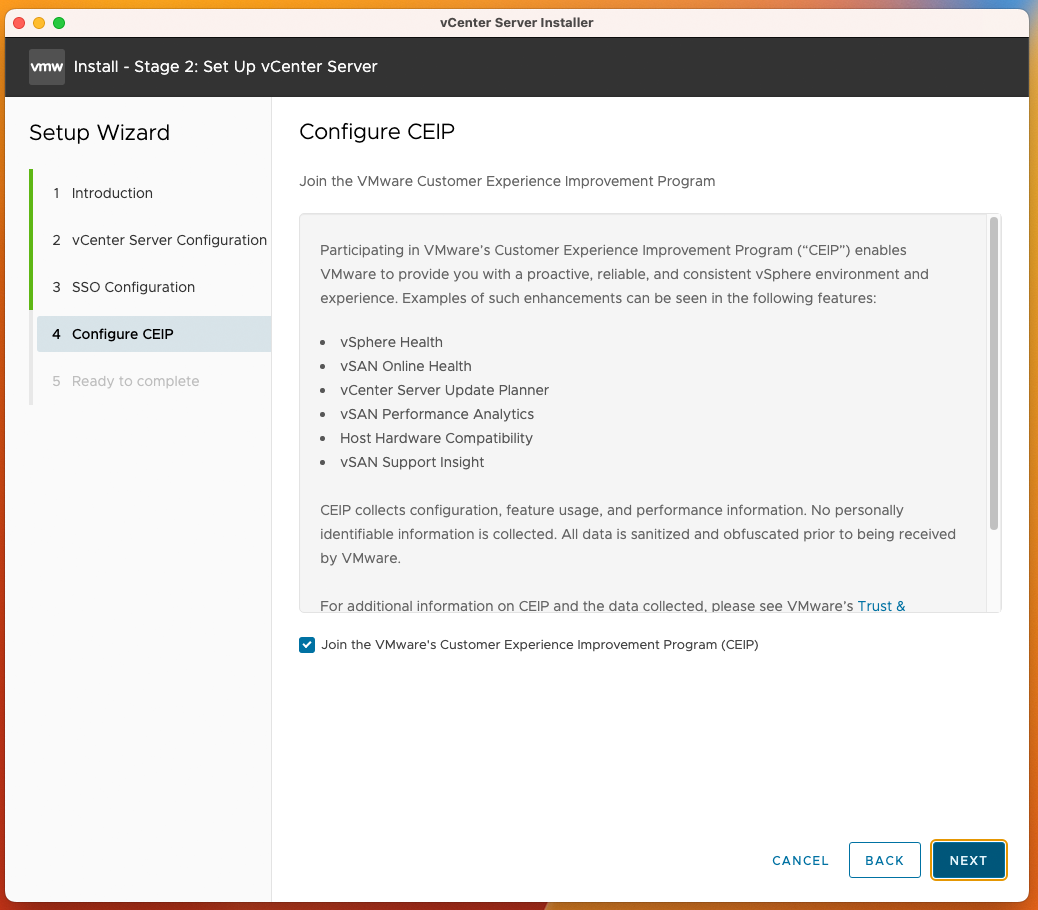
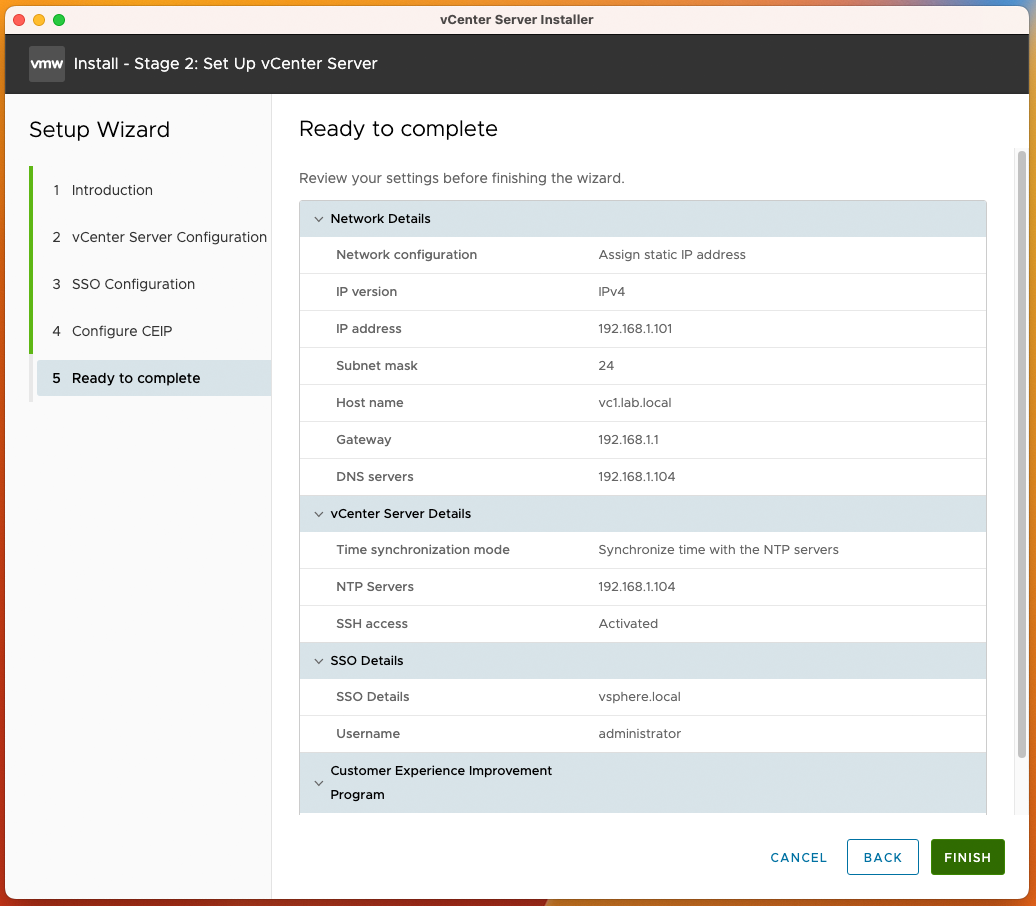
This series of images run through VCSA Stage 2 setup steps:
Open vCenter Server UI:
After successfully completing stage 2, you will be presented with a URL. Click the URL to launch the vSphere Client.
https://vc1.lab.local/
username: [email protected]
Conclusion:
At this point in the lab build-out we have completed VCSA installation and configuration.
